.png "Reimer Seeds")

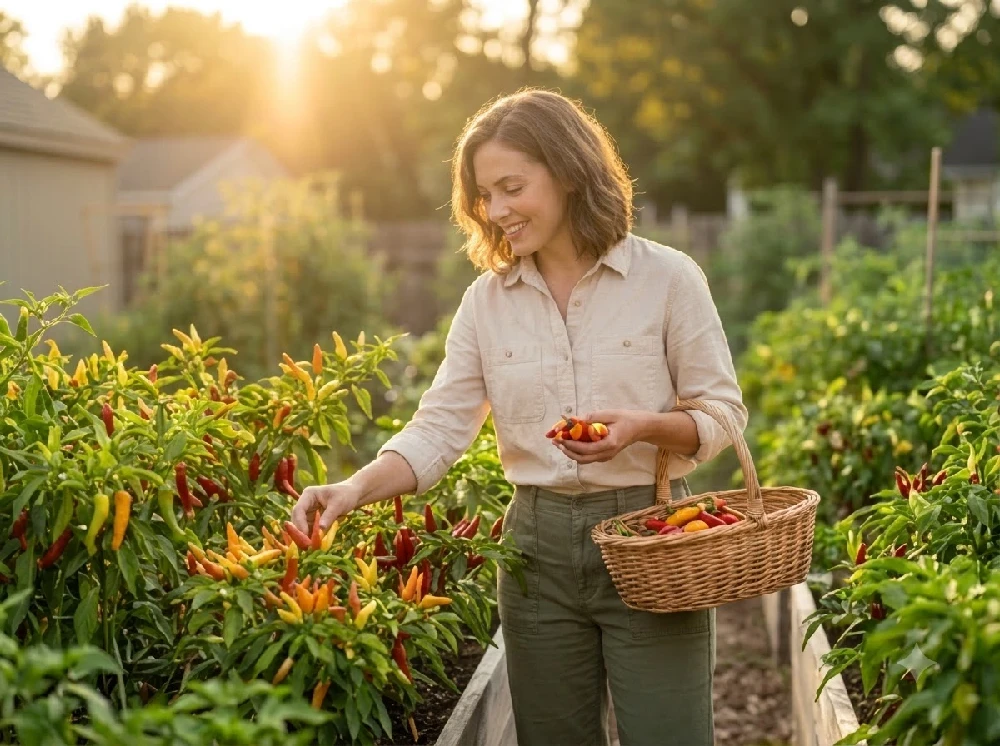 Most failed pepper crops don't fail in the garden. They fail on the windowsill, weeks before a single seedling ever sees soil outdoors. Hot pepper seeds are more particular than many home gardeners expect; they want steady warmth, careful moisture, and airflow that a sealed, humid tray simply can't provide. Get those early conditions right, and the rest of the growing season tends to take care of itself.
This guide walks through the full process: starting seeds indoors, managing germination conditions, transplanting into the garden, and keeping plants productive through harvest.
Quick Hot Pepper Growing Guide
| Growing Factor | Reimer Seeds Recommendation |
| Seed Depth | 1/4 inch |
| Germination Temperature | 85°F |
| Germination Time | 14–28 days |
| Sunlight | Full sun |
| Seed Spacing | 1 inch |
| Row Spacing | 36–48 inches |
| Spacing After Thinning | 24 inches |
| Harvest Time | 60–210 days |
What Hot Pepper Seeds Need to Germinate
Hot pepper seeds germinate slowly compared to many garden vegetables, and that extended window makes the growing environment matter more, not less. Four factors work together: warmth, moisture, air circulation, and the seed-starting material itself.
It's tempting to assume that more water speeds things along. In practice, the opposite is often true. Pepper seeds need consistent moisture, not saturated conditions. A growing medium that stays soggy tends to starve seeds of oxygen and creates the kind of environment where fungus and rot take hold before a seedling ever emerges.
Step 1: Choose the Right Hot Pepper Seeds
Before anything goes into a tray, it's worth thinking through what you actually want from your pepper harvest. Heat level, flavor, and intended use (fresh eating, drying, sauces, salsas) all narrow the field. So does growing space; some varieties stay compact enough for containers, while others need real garden real estate to reach their full size. Growing season length matters too, since some hot peppers take considerably longer to mature than others.
Step 2: Prepare the Seed-Starting Material
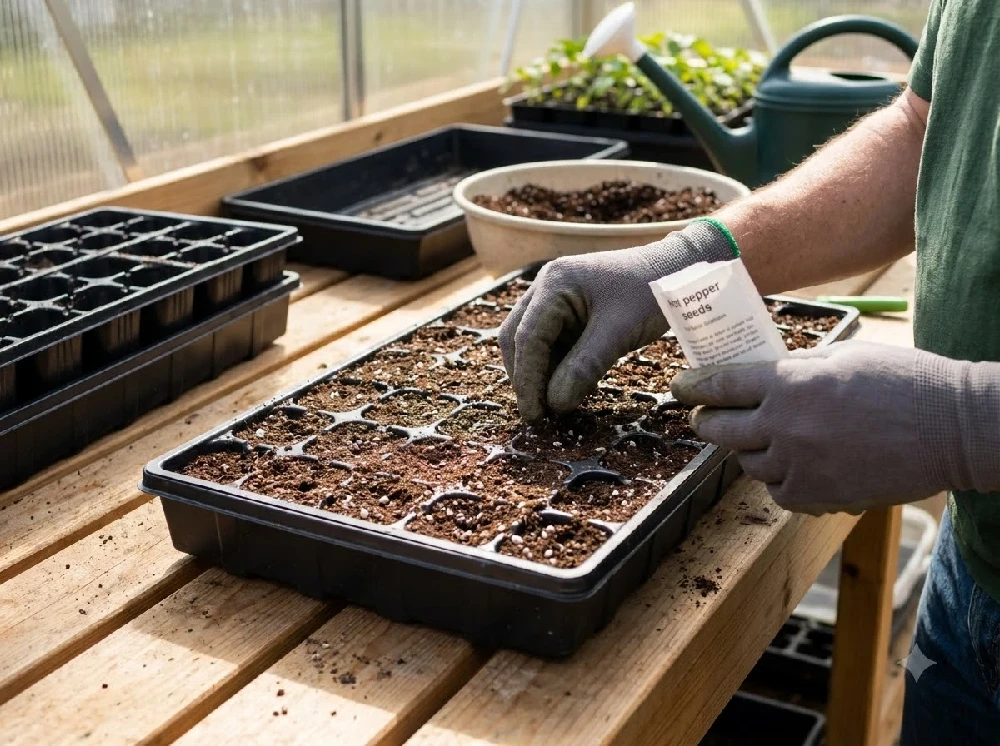
The growing medium you start seeds in has an outsized effect on germination success. Reimer Seeds recommends Miracle-Gro® Seed Starting Potting Mix, based on its own experience with germination outcomes.
The reasoning comes back to moisture management. Some seed-starting materials hold onto water longer than others, and that extra retention can quietly work against you - keeping the root zone wetter than pepper seeds prefer, even when you think you're watering normally. Choosing a mix formulated for seed starting, rather than general potting soil or garden soil, gives you a better starting point for controlling moisture.
Step 3: Plant Hot Pepper Seeds at the Right Depth
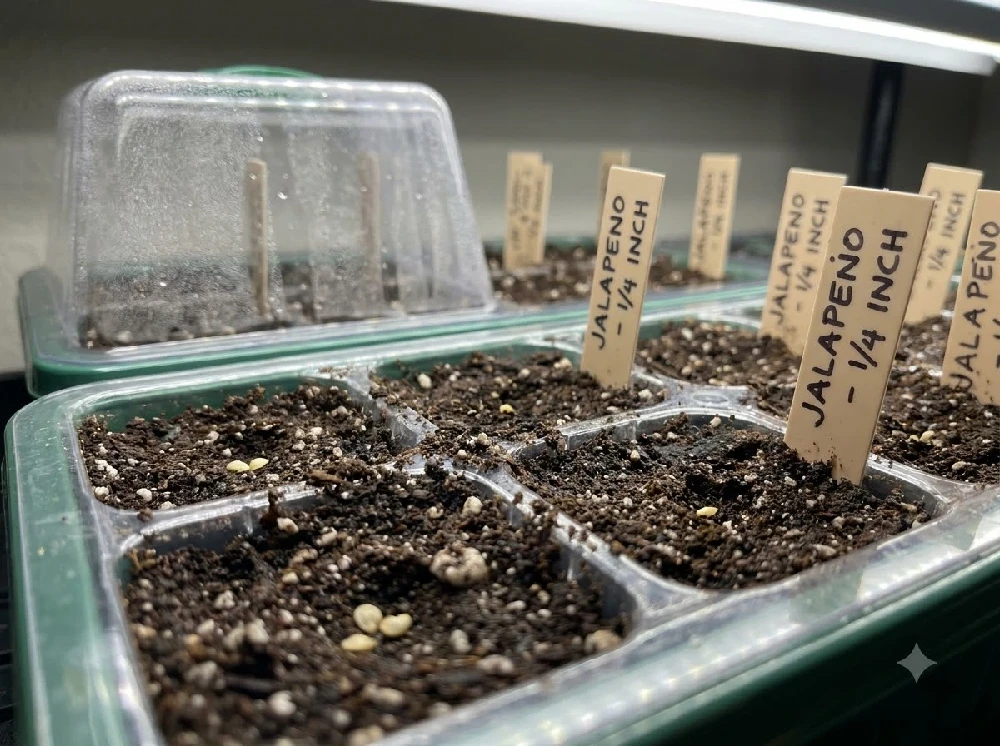
Plant hot pepper seeds approximately 1/4 inch deep. That shallow depth isn't arbitrary; pepper seeds carry limited energy reserves, and a seed planted too deep can exhaust that reserve before it ever reaches the surface. Pressing seeds just below the surface, then covering lightly, gives them enough contact with the growing medium without burying them past their ability to emerge.
Step 4: Maintain 85°F for Germination
Hot pepper seeds germinate best at a consistent 85°F, according to Reimer Seeds' planting instructions. The key word is consistent. Temperature swings warm during the day, cooler overnight can stretch out germination or reduce how many seeds ultimately sprout.
One point worth flagging: heating pads should not be used as a substitute for maintaining a true, constant 85°F germination temperature. A pad that runs too hot, too cool, or unevenly across the tray can do more harm than good if it's treated as a set-and-forget solution rather than something you monitor.
Step 5: Avoid Excess Moisture and Plastic Tray Covers
This is one of the most important stages in the entire process, and it's where a lot of home-started pepper trays go wrong.
Why Too Much Moisture Can Hurt Hot Pepper Germination
Pepper seeds need moisture to germinate, but there's a real difference between "consistently moist" and "constantly wet." When a growing medium stays saturated, oxygen has a harder time reaching the seed, air circulation around the surface drops, and conditions become more favorable for fungus and disease than for healthy sprouts. The result is often the opposite of what you're trying to achieve: fewer seedlings, not more.
Reimer Seeds recommends against using plastic tray covers when starting hot pepper seeds. Covers are a common seed-starting habit, but they trap humidity against the surface of the growing medium, and that trapped moisture is exactly the condition that works against strong pepper germination. Leaving trays uncovered allows air to move across the surface and helps prevent the medium from staying oversaturated.
Bottom-watering is another common technique that Reimer Seeds recommends avoiding for hot pepper seed starting specifically. While bottom-watering is a reasonable method for some plants, it tends to leave the seed-starting material more thoroughly and evenly saturated than top-watering in moderation. For hot peppers, that added saturation works against the airflow and moisture balance the seeds need. This is Reimer Seeds' recommended approach for pepper seed starting rather than a universal rule for every plant in every setup.
Step 6: Wait for Germination
Hot pepper seeds typically take 14 to 28 days to germinate noticeably longer than many other vegetable seeds, and long enough that it's easy to second-guess yourself midway through. During this window:
- Keep the growing environment as consistent as possible
- Check moisture without oversaturating the medium
- Resist the urge to add extra water "just in case"
- Avoid disturbing the seeds or growing medium unnecessarily
- Give it time germination timing varies by seed and conditions
Not every seed will germinate on the same schedule, and a few stragglers past the 28-day mark isn't unusual.
Step 7: Give Pepper Seedlings Enough Light
Once seedlings emerge, light becomes the priority. Weak or indirect light tends to produce thin, stretched-out ("leggy") seedlings that struggle once they're transplanted outdoors. Strong, direct light whether from a bright south-facing window or a grow light positioned close to the plants helps seedlings grow compact and sturdy instead of reaching for a light source that isn't strong enough.
Step 8: Thin and Space Pepper Plants Correctly
Reimer Seeds' planting instructions call for seeds spaced about 1 inch apart initially, thinned to 24 inches between plants, with 36 to 48 inches between rows. That's a significant amount of room per plant, and it's there for a reason. Crowded pepper plants compete for light, air circulation, water, and nutrients and crowding also makes it easier for disease to spread from one plant to its neighbors. Proper spacing gives each plant room to develop a full root system and canopy.
Step 9: Transplant Hot Pepper Seedlings Outdoors
Once seedlings are sturdy and outdoor conditions are reliably warm, it's time to move them into the garden. Choose a location that gets full sun and has fertile, well-drained soil. Peppers are unforgiving of soggy, poorly drained spots, where roots can struggle even if the top growth looks fine for a while.
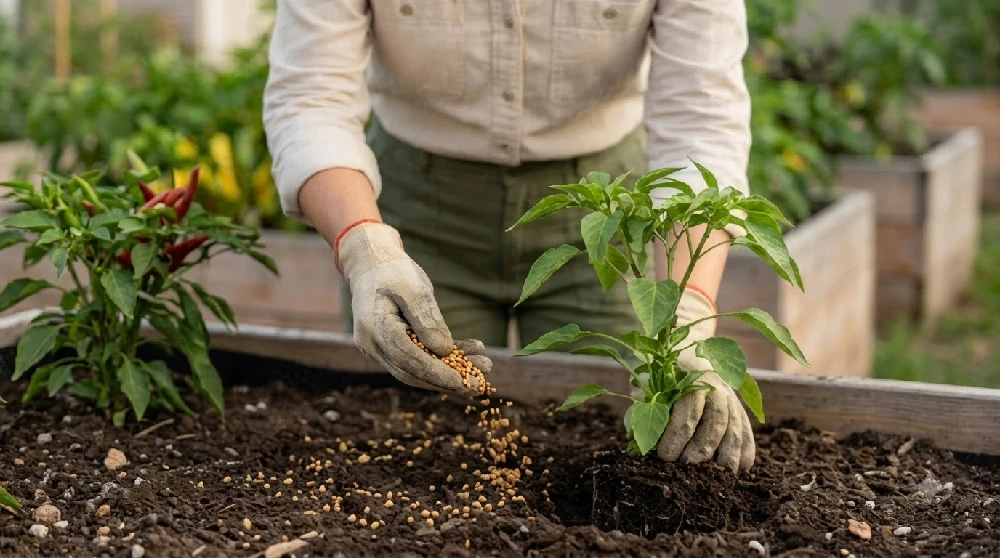
When planting outdoors, Reimer Seeds recommends applying Osmocote® Outdoor & Indoor 6 Month Slow Release Plant Food around each plant. Follow the application rate printed on the product label, since the correct amount depends on the specific product packaging and formulation.
Step 10: Water Hot Pepper Plants Properly
Once established outdoors, hot pepper plants benefit from deep, consistent watering rather than frequent light sprinkling. Reimer Seeds recommends watering well with soaker hoses during dry and hot spells, which delivers water at the root zone instead of wetting the foliage.
There's a meaningful difference between keeping plants adequately hydrated and keeping the soil constantly saturated. Deep watering that allows the soil surface to dry slightly between sessions tends to encourage stronger root systems than soil that never gets a chance to dry out.
Step 11: Mulch Around Hot Pepper Plants
A layer of mulch straw, grass clippings, or another organic mulch around the base of each plant helps moderate soil moisture and protects the root zone from temperature swings and weed competition. It won't eliminate the need for watering during hot, dry stretches, but it does reduce how quickly the soil surface dries out between waterings.
Step 12: Fertilizing Hot Pepper Plants
Beyond the initial application at transplanting, hot pepper plants benefit from consistent nutrition through the growing season. Reimer Seeds' outdoor recommendation is Osmocote® Outdoor & Indoor 6 Month Slow Release Plant Food, applied around each plant per the product label directions. A slow-release formulation like this is designed to feed plants gradually rather than requiring a strict reapplication schedule.
Step 13: How to Know When Hot Peppers Are Ready to Harvest
Depending on the variety, hot peppers can take anywhere from 60 to 210 days to reach harvest , a wide range that reflects how much variety exists among hot pepper types. Harvest peppers once they reach full maturity for that variety, using garden scissors or pruning shears rather than pulling them off by hand, which can damage stems and branches.
Harvesting peppers as they mature, rather than letting them sit on the plant, tends to encourage the plant to continue producing new buds and additional peppers through the rest of the season.
.webp)
Common Hot Pepper Growing Mistakes
Keeping seeds too wet. Constantly saturated growing medium reduces oxygen at the root zone and creates conditions favorable to fungus, rather than favorable to germination.
Using plastic tray covers. Covers trap humidity against the growing medium, which Reimer Seeds recommends avoiding during hot pepper seed starting because of the moisture and airflow issues it can create.
Bottom-watering during seed starting. This method tends to leave the growing medium more evenly and thoroughly saturated than moderate top-watering, working against the moisture balance hot pepper seeds need.
Using the wrong seed-starting material. Some mixes and soils retain more moisture than others, which can compound the wet-conditions problem even when watering habits are reasonable.
Inconsistent germination temperature. Swings above or below the target range can slow germination or reduce the number of seeds that sprout.
Poor air circulation. Stagnant, humid air around seedlings increases disease risk and can weaken emerging sprouts.
Planting seedlings too closely. Crowded plants compete for light, water, and nutrients, and are more prone to disease spreading between neighbors.
Harvesting too early. Picking peppers before they've reached maturity for the variety can mean missing out on both flavor and the plant's natural cue to keep producing.
Hot Pepper Seed Germination Troubleshooting
| Problem | Possible Cause | What to Check |
| Seeds don't germinate | Temperature or moisture issue | Check whether conditions have stayed consistent |
| Growing medium stays soggy | Too much water | Reduce watering frequency and check drainage |
| Mold or fungus appears | Excess moisture or poor air circulation | Improve airflow around the tray |
| Seedlings become weak or leggy | Insufficient light | Check light strength and distance from seedlings |
| Plants struggle after transplanting | Site, spacing, or watering issue | Review outdoor growing conditions |
Watch: Hot Pepper Planting Instructions
For a visual walkthrough of the planting process described above, watch Reimer Seeds' own Hot Pepper Planting Instructions video, which complements the written steps in this guide.
Copyright © 2026 Reimer Seeds. All rights reserved.
Conclusion
Growing hot peppers from seed comes down to getting the early conditions right. Plant seeds 1/4 inch deep in a seed-starting mix that won't hold too much moisture, keep them at a consistent 85°F, and skip the plastic tray cover and bottom-watering airflow and balanced moisture matter more than extra humidity. Germination takes patience, typically 14 to 28 days, so resist the urge to overwater while you wait.
Once seedlings are strong and well-lit, thin and space them properly (1 inch at seeding, 24 inches after thinning, 36–48 inches between rows), then transplant into full sun with fertile, well-drained soil, feeding with a slow-release fertilizer at planting. From there, deep watering during dry spells, a layer of mulch, and harvesting peppers as they mature using scissors rather than pulling will keep plants productive through a harvest window of 60 to 210 days depending on variety.
Frequently Asked Questions
Everything you need to know about growing hot peppers from seed.


